
Introduction
Imagine this: You’re at a bustling train station in Europe, ready to board your next leg, when you reach for your passport—and it’s gone. Your stomach drops. Your trip grinds to a halt. What started as a dream vacation now feels like a nightmare of embassy lines, fees, and lost time.
Unfortunately, this isn’t just a worst-case scenario—it’s a real risk for thousands of travelers every year. According to the U.S. Department of State, over 300,000 U.S. passports are reported lost or stolen annually, and that doesn’t include hotel confirmations, visas, or digital IDs.
But here’s the good news: most document disasters are preventable. With smart planning, simple tools, and a few mindful habits, you can keep your essential papers safe, accessible, and secure—no matter where you go.
In this guide, we’ll walk you through six essential strategies to protect your travel documents: from digital backups and physical storage to anti-theft tactics and emergency plans. Whether you’re a weekend explorer or a round-the-world nomad, these tips will help you travel with confidence—and avoid becoming a statistic.
Because peace of mind isn’t a luxury. It’s your first travel essential.
1. Create Digital Backups—Before You Leave Home
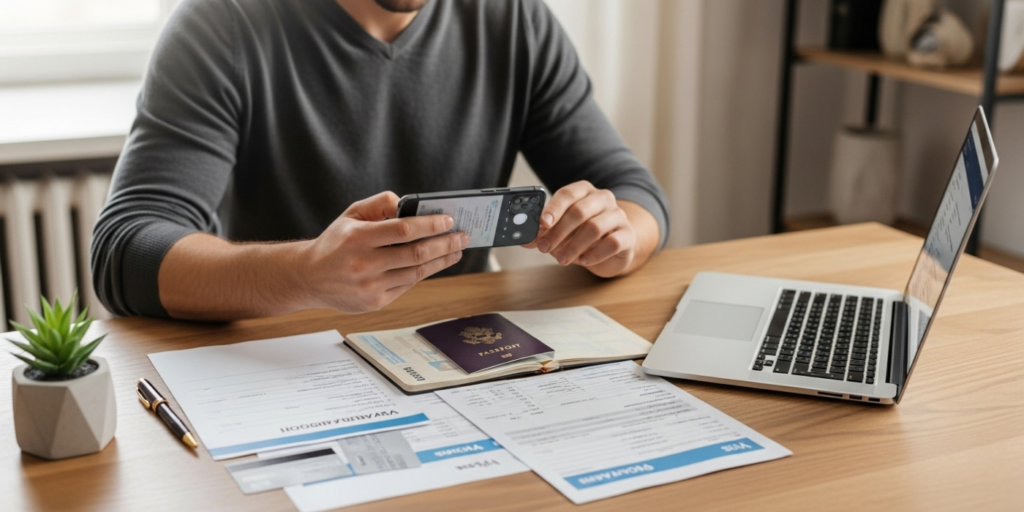
Your first line of defense isn’t a lock—it’s a digital copy.
Before your trip, scan or photograph every critical document:
- Passport (photo page + visa pages)
- Driver’s license or national ID
- Travel insurance policy
- Flight and hotel confirmations
- Vaccination records (if required)
- Credit cards (front and back)
Store them securely:
- Email encrypted PDFs to yourself (use password protection)
- Save to a cloud service like Google Drive, iCloud, or Dropbox—but don’t rely on cloud access alone in areas with poor internet
- Use a password manager like 1Password or LastPass to store encrypted copies
Pro tip: Print one physical backup set and leave it with a trusted friend or family member. If you lose everything, they can email or fax it to you or your embassy.
Real-life win: A friend lost her passport in Bangkok—but because she had a digital copy, she got a replacement in 24 hours instead of 5 days. That copy proved her identity instantly at the U.S. Embassy.
Bonus: Many countries now accept digital visas or entry QR codes—but always carry a printed backup in case your phone dies.
2. Use Smart Physical Storage—Not Just a Wallet
Where you keep your documents matters as much as what you keep.
Never carry everything in one place. If your wallet is stolen, you shouldn’t lose your passport, ID, and cash all at once.
Try this system:
- Primary wallet: Daily cash, 1 credit card, local transit pass
- Hidden pouch: Passport, backup card, emergency cash (wear under clothes or in inner jacket pocket)
- Hotel safe: Extra cards, printed itineraries, non-essential documents
Best anti-theft accessories:
- RFID-blocking passport holder: Prevents digital skimming of chip-enabled IDs
- Neck wallet or money belt: Keep it under your shirt—thieves won’t see it
- Zippered inner pockets: Better than open backpack compartments
Avoid:
- Back pockets (easy for pickpockets)
- Open tote bags or sling bags in crowded areas
- Leaving documents unattended at cafes or beaches
Personal story: In Barcelona, I kept my passport in a slim neck pouch under my sweater while using my wallet for tapas purchases. When a friend’s phone was snatched off a café table, I was glad my essentials were hidden.
3. Minimize What You Carry—Less Is Safer
The fewer documents you have on you, the less you can lose.
Ask yourself: Do I really need my Social Security card in Bali? Does my original birth certificate need to come to Paris?
Only carry what’s necessary:
- Passport: Required for international travel—but once checked into your hotel, leave it in the safe and carry a photocopy for daily ID checks (many hostels and police accept this)
- Credit cards: Bring 1–2, not your whole wallet
- Cash: Split into multiple places (wallet, hidden pocket, shoe)
Hotel tip: Use the in-room safe for your passport—just test it first and take a photo of the safe’s contents before closing it (in case of disputes).
Pro move: In the EU, a driver’s license + photocopy of passport is often enough for age verification or hotel check-ins. Save your original for border crossings only.
Remember: Convenience should never override security. That “just in case” document is often just extra risk.
4. Guard Against Digital Theft and Scams
Your documents aren’t just at risk in your pocket—they’re vulnerable online too.
Public Wi-Fi dangers:
- Never access bank accounts or upload sensitive docs on airport or café Wi-Fi
- Use a reputable VPN (like NordVPN or ExpressVPN) if you must connect
- Enable two-factor authentication on all travel-related accounts
Phishing scams:
- Fraudsters often pose as airlines or hotels asking you to “verify your reservation” via email
- Never click links in unsolicited messages—go directly to the official website
Phone security:
- Set a strong passcode (not just swipe or face ID)
- Enable “Find My iPhone” or “Find My Device” to remotely lock or wipe your phone
- Store document photos in a password-protected folder, not your main gallery
Red flag: If a “hotel staff” asks for your passport “for registration,” ask to hand it over in person at the front desk—never give it to someone who approaches you in the lobby.
5. Know What to Do If You Lose Your Passport

Even with perfect planning, things can go wrong. Having a plan reduces panic.
Step-by-step if your passport is lost or stolen:
- File a police report—required for embassy replacement
- Contact your country’s nearest embassy or consulate (save their number in your phone before you go)
- Bring proof of citizenship (digital copy, driver’s license) and passport photo (keep one in your cloud storage)
- Apply for an emergency passport—usually ready in 24–72 hours
U.S. travelers: Use the Step Program (Smart Traveler Enrollment Program) to register your trip with the State Department—they’ll alert you to risks and help in emergencies.
Non-U.S. tip: Many countries (like Canada, Australia, and the UK) offer similar services—check your government’s travel site before departure.
Emergency kit idea: Carry a small envelope with:
- 1 passport photo
- $50 in local currency (for police report fees)
- Embassy contact info
Don’t wait: The sooner you act, the faster you’re back on your trip.
6. Teach Your Travel Group—Especially Kids and Teens
If you’re traveling with family or friends, everyone needs to know the rules.
For kids:
- Use a child ID wristband with your phone number (available on Amazon)
- Teach them to never show their passport to strangers
- Practice what to do if separated (“Find a uniformed staff member”)
For teens:
- Give them a photocopy of their passport, not the original
- Set clear rules: “Your passport stays in the hostel safe unless we’re crossing a border”
- Show them how to access digital backups on their phone
Group tip: Designate one “document guardian” per day—rotating responsibility keeps everyone accountable.
True story: A family I know gave their 14-year-old a decoy wallet with expired gift cards. When pickpockets struck in Rome, they got the fake—and the real passport stayed safe in mom’s hidden pouch.
Bonus: Special Considerations for International and Long-Term Travel
Visa documentation:
- Keep printed copies of visa approvals, even if they’re electronic
- Some countries (like India or Turkey) require you to show your visa at hotels or checkpoints
Multiple-entry travelers:
- Track your days in Schengen Zone or other visa-limited areas using apps like Schengen Calculator
- Carry proof of onward travel (e.g., bus ticket) if required
Digital nomads:
- Use a secure physical mail service (like Traveling Mailbox) to receive sensitive documents
- Avoid printing documents in public internet cafes—use your own device
Remember: Over-preparation beats under-preparation every time.
Quick Checklist: Your Document Protection Plan
✅ Scan and securely store digital copies of all key documents
✅ Use RFID-blocking holders and hidden pouches for originals
✅ Carry only what’s necessary—leave extras in the hotel safe
✅ Enable phone security and avoid public Wi-Fi for sensitive tasks
✅ Save embassy contact info and register with your government
✅ Educate your travel group on document safety rules
Conclusion
Protecting your documents isn’t about fear—it’s about freedom. When you know your passport, ID, and plans are secure, you can relax, explore, and truly be present in your destination.
The strategies in this guide—backups, smart storage, minimalism, digital hygiene, and emergency prep—aren’t just for “careful” travelers. They’re for anyone who wants to turn a potential disaster into a minor inconvenience.
So before your next trip, take 20 minutes to scan, sort, and secure. That small investment could save you days of stress, hundreds of dollars, and the heartbreak of a ruined vacation.
Because the best travel memories aren’t made in embassy waiting rooms—they’re made on beaches, in markets, and atop mountains. Keep your documents safe, and you’ll make more of them.
We’d love to hear from you! Have you ever lost a travel document? What saved you? Or do you have a clever storage hack you swear by? Share your story in the comments below—your tip could be another traveler’s lifeline!
And if this guide gave you peace of mind, please share it with a friend who’s planning a big trip. Because everyone deserves to travel with confidence.
Safe journeys—and safer documents!

Michael Thompson is an enthusiast of travel, restaurants, financial freedom, and personal performance. He enjoys discovering new destinations and exploring local cuisine while constantly working on self-improvement and independence. For Michael, life is about creating meaningful experiences, growing every day, and building a lifestyle that combines freedom, discipline, and curiosity.